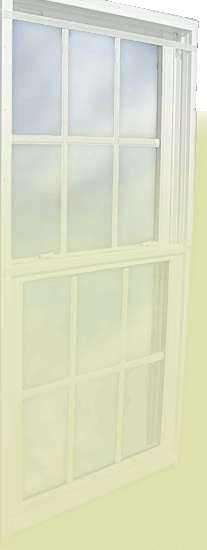
Legacy Windows Remodeling Installation Instructions
This scenario assumes that the Legacy replacement window is the same size and architecture as the window being replaced, both in outside brickmould dimensions and inside jamb dimensions. If the replacement window only fits in one category, then either the brickmould would have to be added to, or subtracted from, or the window would need to be re-trimmed on the inside. These details would be known before the installation begins.
- Double check dimensions before removing any window to insure the size product you have will work. You can remove the old window without removing the interior trim, by cutting the nails the trim is nailed on with. This method only works when the old window and new window are an exact match. Removing the interior trim is the best method.
- After removing the old window, clean any old caulk or nails from the opening that would be in the way of the new installation.
- Replace any rotten wood so you have a sound framed opening to work with. This could result in additional charges per the contract.
- Flash the bottom of the opening if required by local codes. Legacy windows do not require any flashing under the window as part of the warranty.
- Cut off the installation straps used in new construction method, and insert the window in the opening from the outside. The sash can be removed for inserting the frame, but should be replaced to accurately complete the leveling process. Position the window as close to possible in the original location. Temporarily hold the window in this position while you plumb, level and square the window. Use shims under the jamb legs to make the window level, then plumb one side and shim the top on each side at the head jamb. Then shim the bottom on each side at the sill. If the original window was not plumb, level and square, it will be harder to adjust the window for both performance and appearance. Make sure the window is flush on the inside with the finished wall to accommodate the trim. At this point shim the sides of the jamb in the middle, so that the width is the same dimension at the top, middle and bottom, and the sides are straight.
- The window can now be fastened in the opening. The preferred method would be to use 2½" to 3" flat head galvanized screws. Three on each side of the jamb, 2" from the top, in the middle, and 2" from the bottom. Position the screws behind the sash so they are not seen. Make sure the heads of the screws are flush with the jamb liner so they don't interfere with the operation of the window. The window can also be nailed through the brickmoulding from the outside, using 16D galvanized finish nails. The nails should be set and the holes filled with putty, and then touch-up paint applied.
- Check the window for proper operation.
- Insulate the cavity between the opening and the window. Loose fiberglass is the best choice. Do not use expanding foam as this will void the warranty.
- Re-trim the window and the installation is complete.


